
100 WATERFALL PHOTOGRAPHY TIPS
Photographing waterfalls has turned into a life-long passion for me. I've learned many photography tips and tricks through 15-years of trial and error but also by shadowing professional landscape photographers. To help you master the art of waterfall photography, I have developed a list of 100 waterfall photography tips. The list below represents all the tips and tricks that I could think of. I haven't withhold any secret tips - I've shared just about all that I know below. If you have any additional waterfall photography tips that you would like to share with me and other readers, please leave a comment at the bottom of this page. Thanks and I hope you enjoy this list. (TIP #1): Use a tripod for all, or nearly all, of your waterfall photography shots. I use a tripod for 99.5% of my waterfall shots. The MeFOTO Aluminum Roadtrip Travel tripod is a great entry-level tripod. If you want the best, you can't go wrong with a Really Right Stuff tripod. (TIP #2): Get and use a circular polarizer filter to reduce reflections of the sun, water, leaves, rocks, and other objects. This filter allows you to use longer shutter speeds and it helps to improve color saturation and image contrast. (TIP #3): Shoot in RAW mode or JPEG+RAW mode, instead of just in JPEG mode. Shooting in RAW allows you to make more adjustments on the computer during post-processing later on. If you don't fully understand what shooting in RAW mode means right now, just start shooting in JPEG+RAW mode and save the RAW files for when you finally have to time and deserve to learn about RAW files. (TIP #4): Use a DSLR or mirrorless camera instead of a point-and-shoot camera or a smartphone camera. The capabilities of professional cameras still dwarf those of even the best smartphones. (TIP #5): Try adding a sunburst to your waterfall photographs by using a wide-angle lens with a narrow aperture between f/14 and f/22. Shoot directly into the sun. (TIP #6): Buy or rent a wide-angle zoom lens, preferably one that has a focal range of something in the range of 14-28mm or 16-35mm. (TIP #7): Try to visit waterfalls on cloudy/overcast days, or early in the morning and/or late in the afternoon on sunny days. I love shooting in the first and last hour of the day. (TIP #8): Lean how to use your camera’s histogram so that you don't need to 'bracket' every shot. This will allow you to maximize the range of shadows and highlights you can play with in RAW post-processing. Using the histogram also helps to reduce your camera's "shutter count". (TIP #9): Experiment with graduated neutral density filters so that you can properly expose both the sky and a waterfall (for those waterfalls that are wide open to the sky). (TIP #10): Learn how to blend different exposures (images of varying lightness/darkness) in post-processing (i.e. Adobe Photoshop).  (TIP #11): Revisit and shoot each waterfall as many times as possible to take advantage of various water levels, lighting, and degrees of fall foliage. (TIP #12): Get a 2-stop or 3-stop neutral density filter so that you can take shots with longer shutter speeds. (TIP #13): Learn how to bracket your exposures. Learn how and when to use 3-shot or 5-shot bracketing. (TIP #14): Learn how to focus stack your images and then combine them in post-processing. You can do this in software like Adobe Photoshop or Helicon Focus. (TIP #15): Add people into photographs to add scale and/or to add a human element to a photo. (TIP #16): Shoot ISO50, ISO64 or ISO100 for all, or nearly all, waterfall shots. Some cameras only 'naturally' go to ISO100, but will let you 'push' to a lower ISO, although there may be some sacrifice of image quality if you do that. (TIP #17): Consider upgrading from a "crop sensor" camera to a "full frame" camera as soon as you can afford to do so. A full-frame camera will typically help you use your lenses to their full potential. (TIP #18): Try shooting waterfalls with a 10, 15, 20 or 30 second exposure. An ND and/or circular polarizer filter will help you achieve that length of shutter speed. (TIP #19): Try to capture the Milky Way by shooting waterfalls at night at a very wide aperture. You may want to use a flashlight to illuminate the waterfall. (TIP #20): Sign up for the Adobe Photography / Adobe Lightroom monthly subscription and aim to become an intermediate or advanced user of both of these programs. As of 2016, the cost of this plan was a very reasonable $9.99/month. 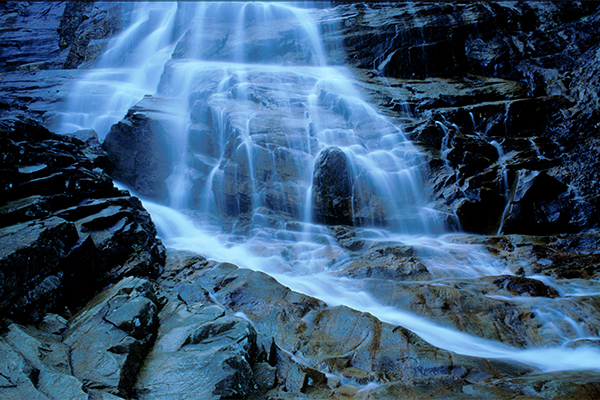 (TIP #21): Use a telephoto lens and try zooming in on particular features of waterfall. (TIP #22): Get creative by using a fisheye lens. (TIP #23): Rent a professional lens from an online lens rental company, such as lensrentals.com or borrowlenses.com. (TIP #24): Shoot in "Adobe RGB" color mode instead of "sRGB" if your ultimate goal is to print photographs at a professional level. (TIP #25): Upgrade to a tripod that is sturdy enough to avoid shaking when placed directly into streams. Really Right Stuff is one of the premier tripod manufacturers, but you'll pay a pretty penny for one of them. (TIP #26): Try shooting a waterfall from directly in a stream. Try getting down so low that you are only a few inches above the stream. If you do this, you may want to try 'focus stacking' since even f/22 often can't provide good enough depth of field. (TIP #27): Shoot a waterfall from its side or from above. But watch your footing, of course. (TIP #28): Wear water shoes and don’t be shy about getting wet to get the best shots. Make sure that it is actually safe to do this. Merrill makes terrific water shoes. (TIP #29): Use fast shutter speeds (like 1/60, 1/125, or even faster) for shooting extraordinarily powerful waterfalls. Not every waterfall should have the blurry and silky look. (TIP #30): Use small/narrow apertures (such as f/11, f/13 or f/16) to allow you to lengthen the shutter speed so that the water gets that blurry and silky look. I tend to prefer f/11-f/13 and will more rely on filters to get the longer shutter speeds I want (as opposed to going even more narrow on the aperture, which can result in diffraction). 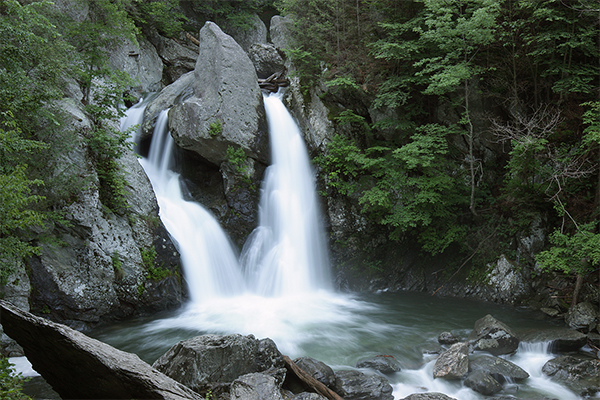 (TIP #31): Use an extremely small/narrow aperture (such as f/16, f/19 or f/22) when you are shooting extremely close to a foreground object and a waterfall is in the distant background. I suggest manually focusing one-third to one-half of the way into the scene when doing this. (TIP #32): Shoot the waterfalls that are off the beaten path. It’s tough to compete with shots that have been taken of the most popular waterfall. Do your research to find the waterfalls that are infrequently visited or photographed. (TIP #33): Have the discipline to try to shoot waterfalls when nobody else is shooting them (i.e. in winter, just after sunrise, during a rain or drizzle, past peak fall foliage, on holidays, right after a fresh snowfall, in early spring, etc.). (TIP #34): Use manual focusing for all or nearly all of your shots (as opposed to using automatic focus). (TIP #35): Read one or several in-print or online waterfall photography guides or tutorials. Here's an example on Amazon.com (TIP #36): Circular polarizer filters typically work best when the sun is at a 45-to-90 degree angle to the falls. Rotate the circular polarizer to see the range of polarization that you can use. (TIP #37): Get lens thread adapters so that you can quickly swap filter onto multiple lenses with different filter threads. In other words, you won't have to buy a different circular polarizer filter for different lens. (TIP #38): Be careful when using ND filters when it’s windy because tree branches and leaves can get blurry. (TIP #39): Clean your lenses frequently with lens cleaners and/or cloth. (TIP #40): Try using a drone. Drones should only be used when others aren't around though, since many people find them obnoxious. Take note that they are now banned in all national parks and many state and local parks as well. 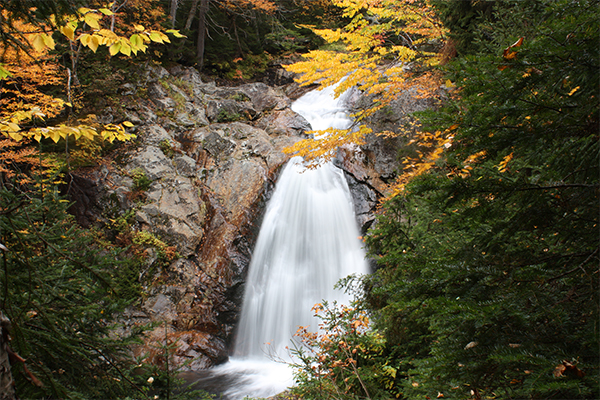 (TIP #41): Don’t bracket 100% of your shots because that will surge your camera’s “shutter count”, which can ultimately cause the shutter to fail. Getting a shutter replaced will cost you hundreds of dollars. (TIP #42): If shooting in JPEG mode (as opposed to RAW or RAW+JPEG mode), make sure to adjust your 'white balance' for each and every shot. If you shoot in RAW mode, this is irrelevant as white balance can be adjusted in post-processing software later on. (TIP #43): If shooting in JPEG mode, play around with the in-camera “picture styles”. If you shoot in RAW mode, this is irrelevant and has no effect. (TIP #44): Make sure that your computer monitor is properly calibrated. Compare an image on several devices to see if there are any significant differences between them (i.e. compare the same image on your smartphone, tablet, and computer monitor). There is some calibration software you can purchase as well. (TIP #45): Backup your photos online or onto an external hard drive that is stored at an off-site location. Natural disasters and computer crashes happen far too often. (TIP #46): Find and incorporate interesting foreground objects, such as wildflowers, attractive rocks, tree roots, vegetation, ferns, geologic oddities, colorful leaves, etc. (TIP #47): Don’t overdo it with vibrancy and saturation adjustments in post-processing. (TIP #48): Protect your lenses and camera with neoprene covers or some other soft or hard cases while you hike. (TIP #49): Become an expert with lightening and darkening of shadows and highlights in post-processing. This can really help you turn a great photo into an amazing one. (TIP #50): Take some vacation time and shoot excessively during fall foliage season; the best shots are often taken during this extremely short time-frame. 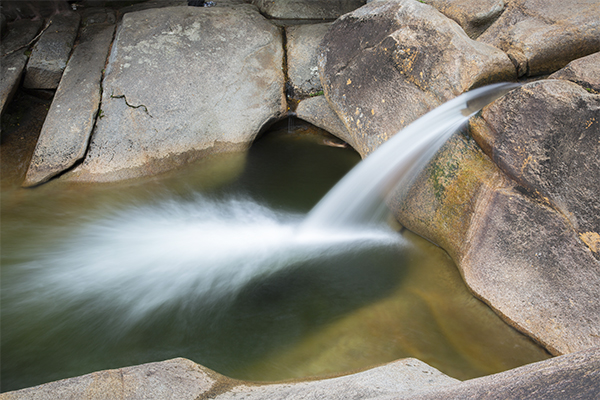 (TIP #51): Keep a list (on paper, in MS Excel, as a list on your smartphone, etc.) of waterfalls you want to visit and/or revisit. (TIP #52): Shoot swimming holes with people in the action of jumping or swimming. Use a fast shutter speed (i.e. 1/500, 1/1000, 1/2000), a higher ISO (i.e. ISO400 or ISO800), and/or a wide aperture (i.e. f/2.8, f/4 or f/5.6) in order to capture the action. (TIP #53): When shooting in winter, make sure to keep your batteries warm. Hold them close to your body in an inner pocket. (TIP #54): Understand what causes camera condensation in winter and take precautions to minimize it. (TIP #55): Revisit and photograph the same waterfall 5, 10, or even more times. The falls will likely look different each time, and you’ll continue to find new angles and perspectives to shoot from. (TIP #56): If your camera’s LCD screen has a zoom-in feature, use that in order to focus your lens manually. (TIP #57): Bring a waterproof case or waterproof bag in case it rains; remember, most backpacks are not waterproof. (TIP #58): I recommend shooting in aperture-priority (“AV” or “A”) or manual-mode (“M”) on your DSLR camera. I personally prefer aperture-priority (“AV” or “A”) since it at least gets you started with getting towards the desired metering. (TIP #59): You can increase your ISO to ISO200 or ISO400 without much penalty in terms of quality, detail and noise. You may want to do this if you are using an ND filter and you find that your camera's meter is recommending a shutter speed that is too long for your tastes (or one that requires "bulb" mode). (TIP #60): Get a tripod (or another tripod) that will allow you to shoot from only inches above the ground. 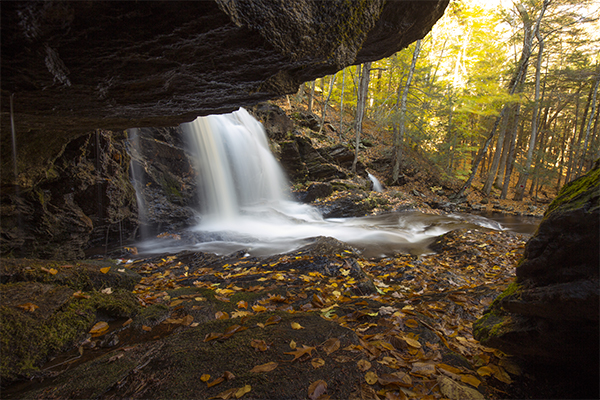 (TIP #61): Shoot a huge variety of shots so that you get a collection of photos with a solid range of apertures and shutter speeds. Sometimes you never know what will look the best until you get home and view them on a screen. (TIP #62): Use a 2-second timer, a 10-second timer, or use a wired or wireless “cable release” for 100% of your tripod shots. It takes up to 2-3 seconds for most cameras to stop shaking after you press the shutter button, even with a sturdy tripod. (TIP #63): Use foot traction when visiting waterfalls in winter, such as Hillsounds or Microspikes. (TIP #64): Learn the various ways to “sharpen” photos in post-processing. Some cameras will allow you to increase sharpening before you even take a shot (but this only affects JPEGs). (TIP #65): Watch YouTube videos to learn more waterfall and landscape photography tips and/or post-processing techniques. (TIP #66): Attend a seminar or workshop on waterfall and/or landscape photography. (TIP #67): Keep shooting even when you think it’s too dark – you can still score excellent shots when it's dark, sometimes even after sunset. (TIP #68): Understand current water conditions before you head out to shoot. Use Google to find out how much rain has fallen in the area you want to visit in the past 24 hours, 48 hours, week, etc. (TIP #69): Be cognizant of the dangers of waterfall photography; it’s far too easy to slip over an edge. (TIP #70): Use a tripod with a 10-second timer (or use a wireless remote trigger) and jump into the shot to add yourself as scale into the scene. 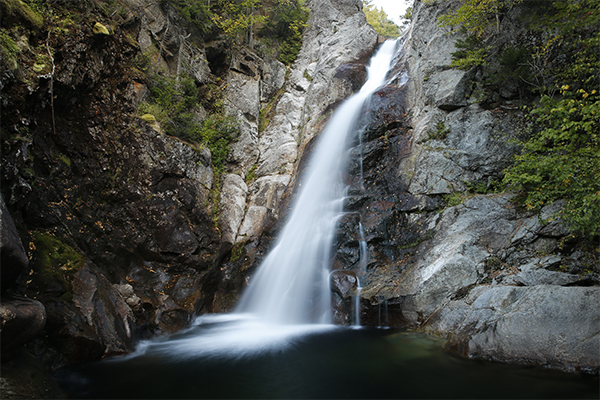 (TIP #71): Find others who enjoy waterfall photography and do a “meet-up” to shoot one or several falls together. (TIP #72): Buy or rent a professional-quality lens to see the difference it can usually make, especially on a full-frame camera (i.e. Canon “L” lenses). (TIP #73): Before buying a new lens, read reviews and consider cheaper alternatives (i.e. Sigma, Tamron or Zeiss lenses). (TIP #74): Consider waiting for camera manufacturers to offer rebate or sales programs before buying a new lens. Rebates or sales are typically offered by each major manufacturer once or twice per year. (TIP #75): When you first arrive at a new site, walk around and scout your shots before you start actually shooting. Resist the urge to jump right into shooting. (TIP #76): Stay overnight near the location you will be shooting so that you can start fresh & early and/or finish late. (TIP #77): Consider bringing a kneeling pad or knee pads if you’ll be taking a lot of low-level shots. (TIP #78): Turn off image stabilization on your camera and/or your lenses when using a tripod. Many relatively new lenses have a switch on the actual lens that you need to shut off. (TIP #79): Understand and use the “rule of thirds” most, but not all, of the time. (TIP #80): Use lens hoods to prevent flare and light-reducing contrast, especially mid-day on overcast days. 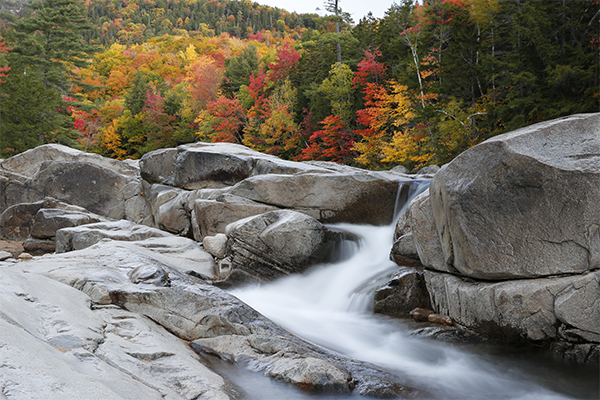 (TIP #81): Remove your camera strap; it’s likely going to eventually annoy you if you keep it on. However, when shooting in streams, it may be a good idea to have some some sort of strap connecting you to either the camera or tripod. Even sturdy tripods can slip. (TIP #82): When photographing people at waterfalls, candid shots are often better than portrait shots. However, try both to see what you like. (TIP #83): Learn how to use “bulb mode” so you can take exposures longer than 30 seconds long when needed. If you are shooting near sunrise or sunset and you have a circular polarizer or ND filter, it's easy to find yourself needing a shutter speed greater than 30 seconds. If you want to shoot in bulb mode, you should really get a remote or cable-release accessory for your camera. (TIP #84): Try stacking a circular polarizer on top of an ND filter, but beware of vignetting. I prefer stacking the circular polarizer on top of the ND filter, since the circular polarizer will be adjusted. When stacking, make sure not to twist them on too tight to each other. (TIP #85): To get a ‘swirl’ effect, look for rotating or circulating pools and shoot them with an ND filter and a long shutter speed. A 20 or 30-second shutter speed works well to create this effect. (TIP #86): Use a circular polarizer filter to shoot photos that will allow viewers to see deeper into pools. (TIP #87): Try shooting and stitching several vertical photos together in post-processing. (TIP #88): Learn how to make unwanted objects or people in your photos disappear in post-processing (i.e. the clone-stamp tool). (TIP #89): Take a few (or many) steps back from the waterfall and shoot with a short-telephoto or telephoto-lens. You may be able to add new & interesting foreground objects. (TIP #90): Try to shoot falls from behind the falls (for those waterfalls that allow that sort of thing). Bring a waterproof bag (or double up with two of them) in order to transport your equipment safely. 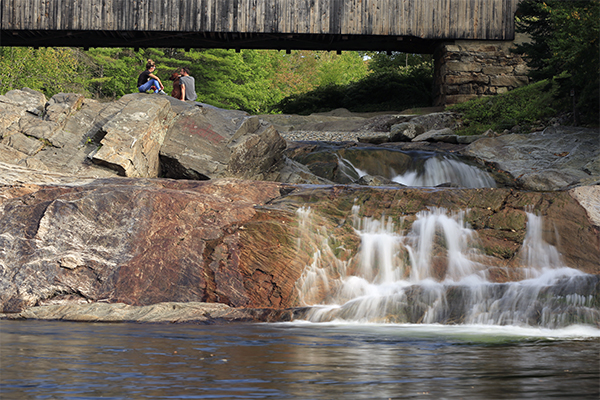 (TIP #91): If you don’t want to manually focus, I recommend using single-point autofocus. (TIP #92): Buy the best gear you can afford. If you know this is going to be a long-term hobby or business, considering investing more dollars now as opposed to continually upgrading equipment and spending more money that way in the long run. (TIP #93): Before setting up your tripod, hand-hold your camera and explore around a waterfall. Look through the viewfinder and visualize the shots you’d like to take. And then set up the tripod. (TIP #94): Follow camera equipment “rumor” websites, blogs or Facebook pages (i.e. Canon Rumors, Nikon Rumors, etc.) to get a sense of new lenses, cameras, and accessories that are coming to market soon or going on sale. (TIP #95): Shoot waterfalls from both sides of the stream, even when there is only a trail on one side. Try not to cause any erosion, though. (TIP #96): Try to add stone bridges, covered bridges, grist mills, or other historical objects to your composition. (TIP #97): Wear a wide-brimmed hat and a bug net during bug season. Figure out when your area's bug season is, of course. (TIP #98): Master the art of preparing your photographs for print and find the highest quality printing service (or buy your own professional printer). (TIP #99): Consider buying or renting a "tilt-shift" lens (although these lenses can be very difficult to master). (TIP #100): Visit and shoot waterfalls in the off-season so that there aren’t hordes of people in your shots. 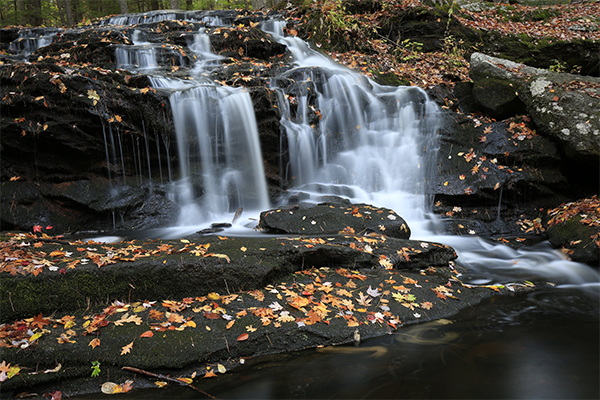 A FEW MORE TIPS...(#1): Look for 'leading lines' that draw you deeper into the photograph. One common and good example to use at waterfalls are large fallen logs. (#2): Some photographers will throw leaves into the water to add a dramatic swirl to their photos. I'll let you debate the ethics on whether you want to add this to your book of tricks or not. (#3): Try intentionally shooting in harsh light, especially when the harsh light is upstream of the falls. Sometimes the effect is quite desirable. (#4): Shoot waterfalls right after rain because it will feed the waterfall and wet rocks tend to look better than dry rocks. (#5): Try to shoot waterfalls with some S-curve and C-curve compositions. (#6): Check the quality and sharpness of your photographs while out in the field by using your camera's 'live view' feature. Connecticut / Maine / Massachusetts / New Hampshire / Rhode Island / Vermont Home Page / About the Book / Book Updates / Top 40 Waterfalls / Swimming Holes / How To Use This Guide / Contact Us Waterfall Photography / Top 25 New England Hikes / 4000 Footers of NH / Bigroads.com © newenglandwaterfalls.com photographs/images may not be used without permission |
| Waterfalls, swimming holes, and hiking can be extremely dangerous. Hundreds of people have been injured or killed in the waterfalls and swimming holes of New England over the years. Never swim in strong water currents. Don't jump into a swimming hole without scouting it first. Do not climb up or along the side of waterfalls. Be wary of slippery rocks. Never swim in pools above waterfalls. Use of this website and all of its information is at your own risk! Newenglandwaterfalls.com will not be held liable for your actions. Be safe out there - and always use common sense! As an Amazon Associates affiliate, this website contains affiliate links. If you choose to purchase any products after clicking any links, I may receive a commission at no extra cost to you. I only endorse products that I have personally used or come highly recommended by trusted peers. |